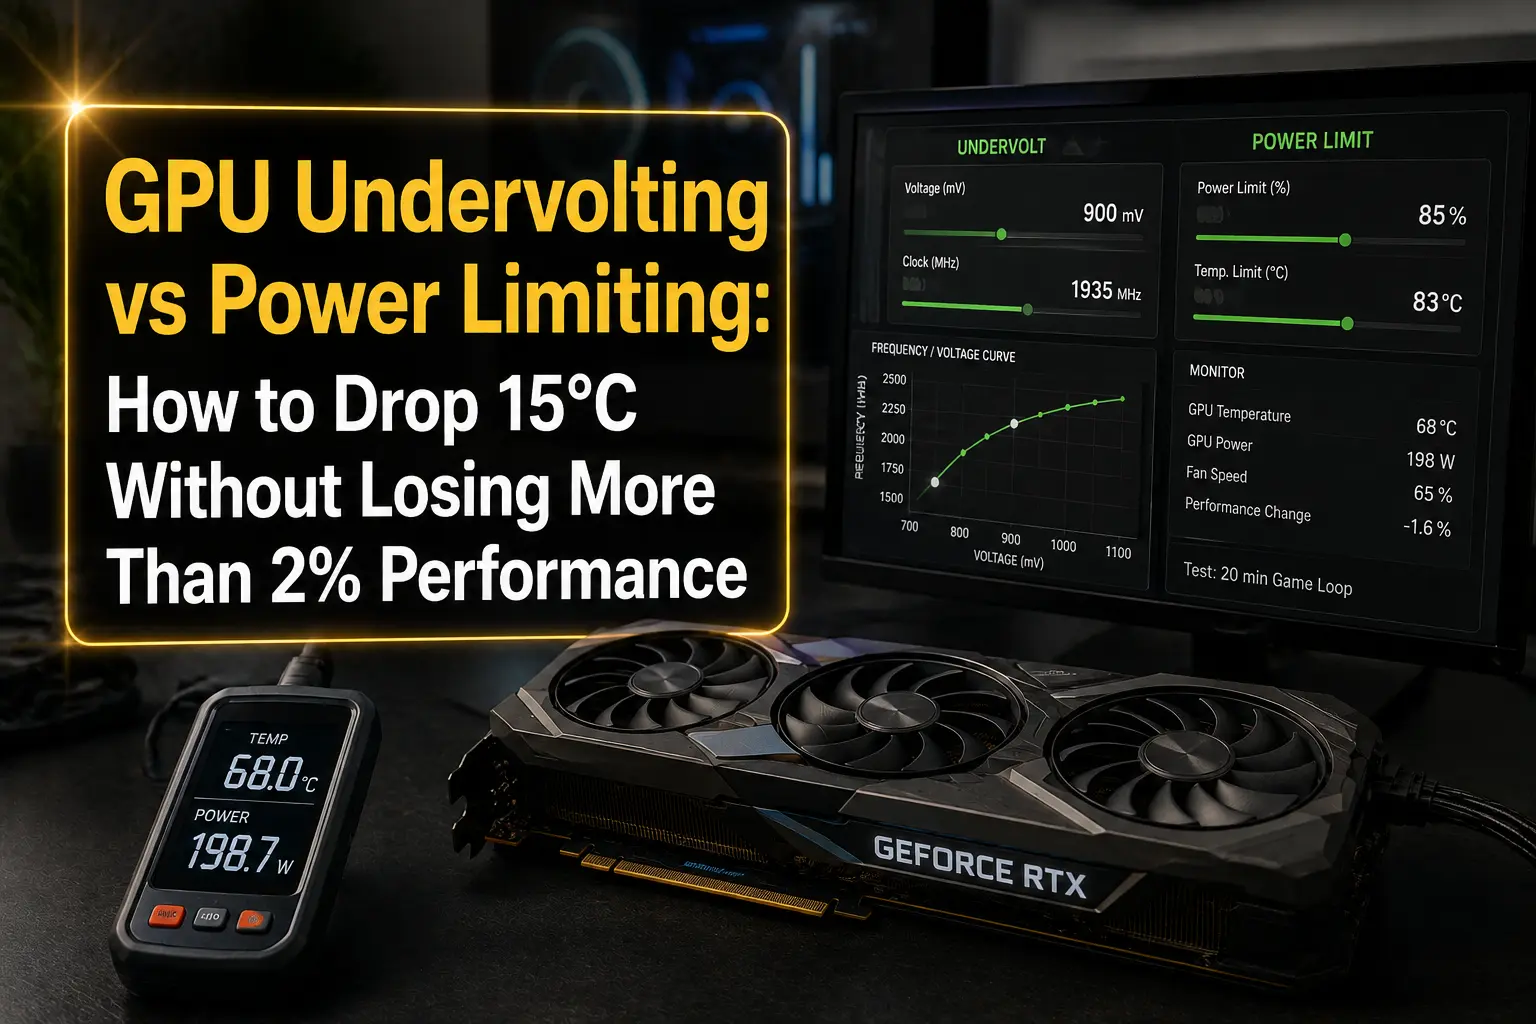
Your GPU is basically that one coworker who insists on shouting even when the room is dead silent. Nobody asked it to run at 1.05V and dump 320 watts into a room-temperature loop, it just does, because the factory curve was tuned for the worst chip on the worst production day, not for yours. Most GPUs are shouting louder than they need to. Turning that shouting down a notch is, in a nutshell, the entire undervolting and power limiting hobby.
This article isn't a quick answer box and a checklist. It's more of a walkthrough of what's actually happening inside the silicon when you drag those sliders in MSI Afterburner, why two methods that both "reduce power" behave so differently in practice, and whether a 15°C drop with under 2% performance loss is a realistic target or just a forum brag.
So What Your GPU Is Actually Doing Every Millisecond
Modern GPUs from both Nvidia and AMD don't run at one fixed clock speed. They constantly hop between dozens of voltage/frequency points on a curve, chasing the highest clock they can sustain within three ceilings at once: temperature, power draw, and voltage. This is dynamic voltage and frequency scaling, and it's the reason your GPU-Z log looks like a heart monitor instead of a flat line.
Here's the part that matters: that curve isn't tuned for your specific chip. It's tuned for the worst chip that still had to pass quality control. Silicon binning means two "identical" GPUs off the same wafer can need noticeably different voltage to hit the same clock. Manufacturers pad the curve with safety margin so that every card, even a weak one running in a hot, dusty case, stays stable. Your card, if it's a decent bin, is probably carrying voltage it doesn't need.
Power Scales With Voltage Squared, Not Just Frequency
The physics reason undervolting works so well comes down to one rough relationship: dynamic power is proportional to voltage squared multiplied by frequency. Drop voltage by 10% at the same clock and you're not saving 10% power, you're saving closer to 19-20%. That's why a small voltage trim produces a disproportionately large thermal and power benefit compared to just clocking the card down.
Undervolting vs Power Limiting: The Core Difference
| Factor | Undervolting | Power Limiting |
|---|---|---|
| What it changes | The voltage assigned to each clock step on the curve | The maximum total wattage the card is allowed to draw |
| How it's applied | Voltage/frequency curve editor (per-point offsets) | A single percentage slider (usually 50-100%+ of TDP) |
| Clock speed effect | Often unchanged or higher, since less heat means less throttling | Usually reduced, since the card must back off to stay under the cap |
| Setup difficulty | Moderate to fiddly, needs stability testing per point | Very easy, one slider, works instantly |
| Typical FPS cost | 0-2% in most titles when tuned carefully | 2-8% depending on how aggressive the cap is |
| Frame time consistency | Generally smoother, card runs a stable curve point | Can introduce small stutters if the card repeatedly hits the ceiling |
This is the piece a lot of guides gloss over: power limiting caps the ceiling, but it doesn't touch the voltage curve underneath it. The card can still ask for its full stock voltage at whatever clock it lands on, it just gets told to stop before reaching the top. Undervolting instead lowers the voltage requirement itself, so the card reaches its efficient sweet spot without needing an external cap at all.
Where the 15°C Actually Comes From
Fifteen degrees sounds dramatic, and on paper it is, but it's not unusual on cards that ship with generous factory voltage, which is most reference and founders-style cards, and quite a few factory-overclocked AIB models too. A card pulling 300W at stock and dropping to 230-250W after a well-tuned undervolt, combined with a mild 90% power cap, commonly lands in the 10-15°C range under sustained load, according to independent testing summarized by XDA Developers.
The bigger the stock power draw, the bigger the potential drop. A card already sipping 150W has less room to fall. This is also why the same 15°C target isn't guaranteed on every SKU, it depends heavily on how conservative the factory curve was to begin with and, honestly, a bit of silicon lottery luck.
Typical Results People Actually See (Community-Reported Ranges)
| Tuning Approach | Temp Change | Power Draw Change | FPS Impact | Fan Noise |
|---|---|---|---|---|
| Undervolt only (curve trimmed) | -6°C to -12°C | -10% to -20% | 0% to +2% (sometimes a gain) | Noticeably quieter |
| Power limit only (85-90%) | -4°C to -9°C | -10% to -15% | -2% to -6% | Quieter |
| Undervolt + mild power limit combined | -10°C to -16°C | -20% to -30% | -1% to -3% | Significantly quieter |
| Aggressive power limit (60-70%) | -12°C to -18°C | -25% to -35% | -8% to -15% | Very quiet |
These are ranges, not guarantees, your ambient temperature, case airflow, and cooler quality all shift the numbers. But the pattern holds pretty consistently across reviews and enthusiast testing: combining a modest undervolt with a light power cap gives the best temperature-per-percent-of-performance trade in nearly every case.
Why Undervolting Alone Often Beats a Straight Power Cut
A power limit is a blunt instrument. It doesn't care why the card wants that wattage, it just says "no" once the number is hit, and the driver scales clocks down reactively. Undervolting is a scalpel. It removes voltage that was never actually needed for a given clock, so the card keeps boosting to nearly the same frequencies while pulling meaningfully less power to get there.
According to How-To Geek, power limiting alone can sometimes produce almost no visible FPS difference at mild settings like 90%, since a lot of games don't actually need the card's full power budget anyway. But push that cap much lower and clocks start dropping across the board, which is where power limiting starts to bleed real frame rate compared to a tuned undervolt.
Pros and Cons: Undervolting
- Pros: Minimal performance loss, often near-zero; smoother sustained clocks; quieter fans; lower peak temps; can extend the card's usable life by reducing thermal stress
- Cons: Takes time to dial in properly; not universally stable across every driver update; every chip is different, so you can't just copy someone elses exact numbers and expect it to work
Pros and Cons: Power Limiting
- Pros: Instant, one slider, no per-point testing required; hard guarantee on power draw, useful for undersized PSUs or thermally cramped small-form-factor builds
- Cons: Bigger FPS cost at aggressive settings; can cause the card to hunt around the power ceiling, occasionally introducing tiny frame time hiccups; doesn't address the underlying voltage inefficiency
Which One Should You Actually Use?
If you want maximum performance-per-watt and don't mind fifteen minutes of testing: undervolt first. It's the method that gets you closest to 15°C cooler while staying under 2% FPS loss.
If you're short on time or building in a tight enclosure like a mini PC or SFF case: a mild 85-90% power limit is good enough and takes ten seconds to set.
If you want the best of both: undervolt the curve first, then apply a light 90-95% power cap as a safety net. This combo consistently delivers the biggest thermal win for the smallest performance cost.
How to Actually Set This Up
You'll need a curve-editing tool. MSI Afterburner is the standard choice for both Nvidia and AMD cards regardless of brand, and it pairs with a monitoring overlay so you can watch clocks, voltage, and temps live while testing.
Undervolting Steps
- Open the voltage/frequency curve editor
- Find your card's typical gaming clock (check the overlay during a game session first)
- Drag that point down and left, lowering voltage while keeping or slightly raising the clock
- Flatten the curve after that point so it doesn't request more voltage at higher, rarely-used clocks
- Apply, then stress test
Power Limiting Steps
- Open the power limit slider
- Drop it in 5% increments, starting around 90%
- Run a demanding game for 20-30 minutes, watch for stutter or forced clock drops
- Back off 5% if frame times get inconsistent
Stability Testing Tips
- Test with an actual game session, not just a synthetic benchmark, some engines stress the card differently than 3DMark does
- Watch for driver timeouts, black screens, or texture corruption, that's your sign to back off the offset
- Push the undervolt slightly further than you think is safe, then walk it back one step, this finds the real stability floor instead of guessing
- Re-test after major driver updates, curves occasionly shift between driver versions
- Don't copy someone else's exact millivolt numbers online, your silicon almost certainly needs a different offset
The Noise Connection Nobody Talks About Enough
Fan curves are usually aggressive between 70°C and 80°C, which is exactly the zone most modern GPUs sit in under load. Shave even 8-10°C off that number and you often drop the card below the point where the fan curve ramps hard, meaning the acoustic improvement can feel bigger than the raw temperature number suggests. This matters even more in cramped builds, something we get into more in our look at gaming laptops vs mini PCs, where thermal headroom is already tight to begin with.
Where This Fits Into the Rest of Your System
A cooler, quieter GPU doesn't exist in a vacuum. If you're also chasing 1% lows and frame stability, it's worth checking what else is competing for resources in the background, our breakdown of how much RAM Discord, OBS, and Chrome use while gaming covers a related bottleneck that has nothing to do with voltage at all. And if you're deciding whether your current card is even worth tuning versus replacing, our guide on upgrading vs building a new PC in 2026 is a good next stop.
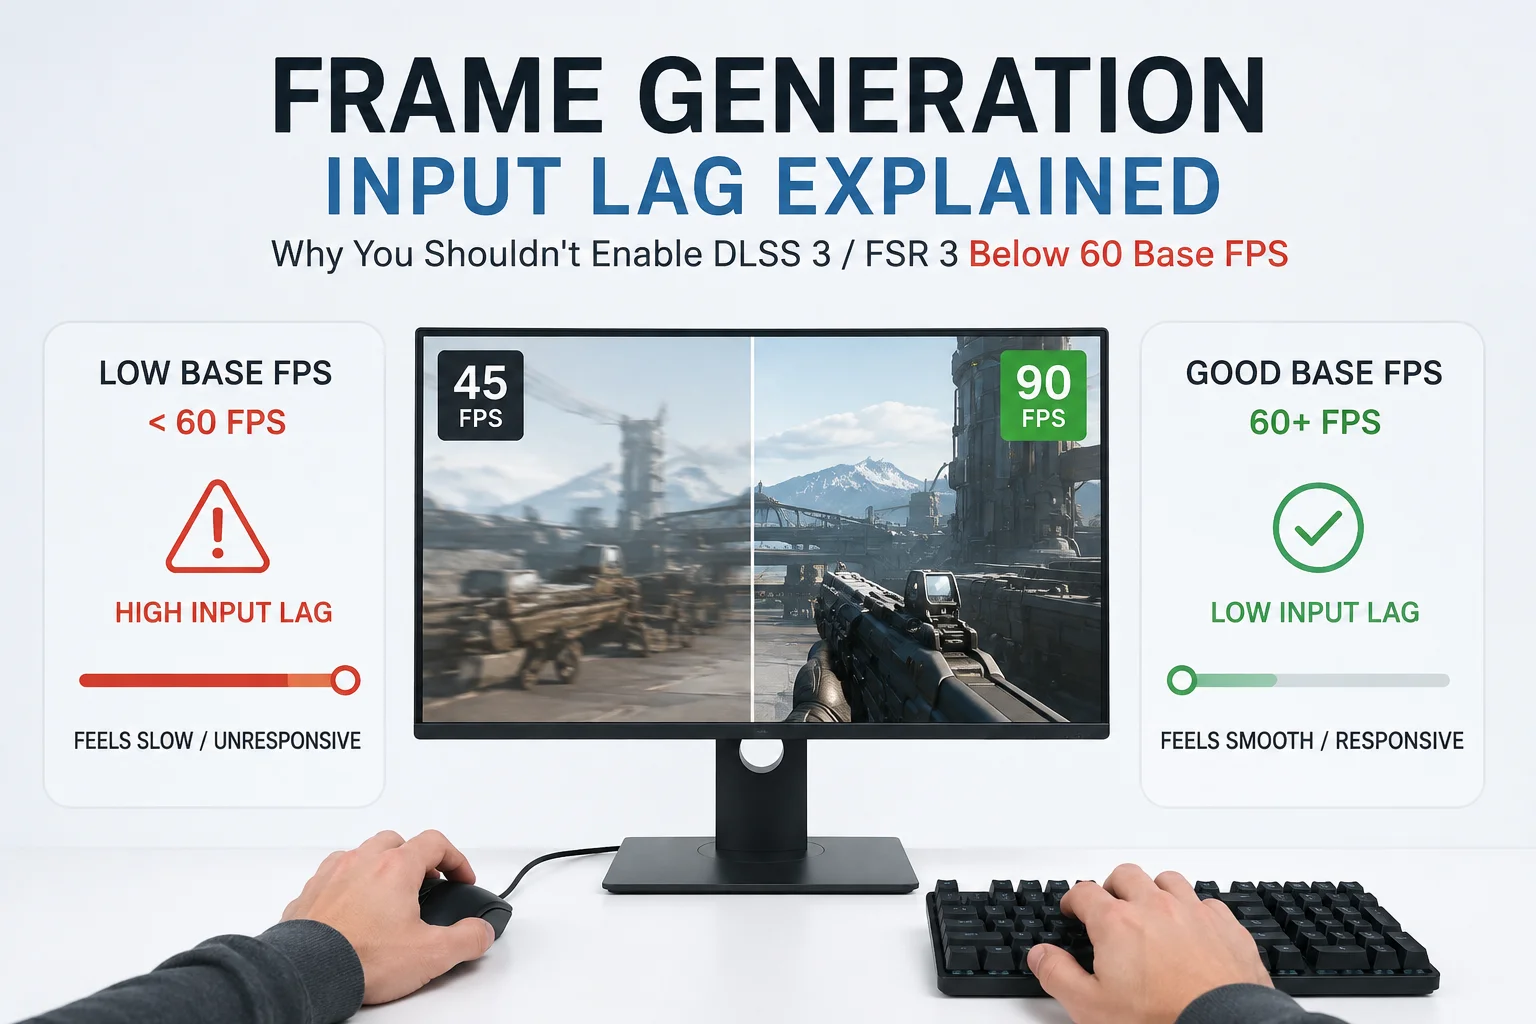
If frame generation is part of your setup, it's also worth knowing that lower, more stable clocks from undervolting tend to pair well with the baseline FPS requirements we cover in why frame generation feels sluggish under 60 native FPS, since a stable clock floor matters more than peak boost clocks there.
Is 15°C and 2% Really Achievable?
For most mid-range and high-end cards from the last couple of generations, yes, on a well-binned chip with a combined undervolt-plus-mild-cap approach. For cards that already ship with a tight, efficient factory curve (some of the smaller Founders Edition-style boards), the ceiling might be closer to 8-10°C rather than 15, simply because there's less voltage padding to remove in the first place. The 2% FPS target is realistic specifically because undervolting, done properly, rarely touches your actual achievable clocks, it just removes wasted voltage sitting underneath them.
A Few Extra Ideas Worth Trying
- Undervolt VRAM too, not just the core, memory controllers run hot and often have similar unnecessary voltage padding
- Pair a light undervolt with a custom fan curve that ramps earlier but gentler, rather than staying quiet then spiking hard at 75°C
- If you're PCIe lane-limited on a budget board, thermal headroom from undervolting can matter more than raw bandwidth, related context in our PCIe 4.0 x8 vs x16 breakdown
- Log your results with TechPowerUp's GPU-Z before and after, so you're comparing real numbers, not just how the fans sound to your ear
Finally
Undervolting is the better tool when your goal is squeezing out maximum efficiency without giving up frame rate, it's more setup work but the payoff is genuinely close to free performance. Power limiting is the better tool when you need a guaranteed wattage ceiling fast, for PSU headroom, SFF thermals, or just because you don't want to spend an evening testing curve points. Combined, as covered in PCWorld's breakdown of undervolting trade-offs, the two methods stack, and that stack is where a 15°C drop with under 2% FPS loss stops being a forum brag and starts being a realistic Tuesday-night project.


Comments 0
Be the first to comment!